
Before walking into your shop, booking a room or ordering from your online store, a customer tries to picture what to expect. Your photos help them understand what you offer, look at the details and imagine themselves there.
A bright bedroom, a close-up of a piece of jewellery, a maker’s hands at work or the entrance to a salon: each one tells people something different. Choosing the right images matters as much as their quality.
So what should you photograph? And how do you put together a useful selection for a business website, a Google Business Profile or an online store?
Start with your customers’ questions
Before planning a photo shoot, ask yourself what someone would want to see before choosing your business.
For a guesthouse, they may want to understand the layout of the room, the size of the bed and the feel of the shared spaces. For a salon, they will want to see the space, the treatments on offer and the person who will welcome them. For an online purchase, they will look closely at the colour, material, size and finish of the product.
This gives your images a sense of direction. An attractive mood shot may catch the eye, but it does not necessarily answer the questions people have before they book or order.
Every photo should help people discover, understand or choose.
1. Show your premises to prepare for the first visit
If you welcome customers in person, your photos can start that welcome before they even arrive.
A view of the front and the entrance helps people recognise your business. A wider view of the interior shows the size and layout of the space. A few details then convey what gives the place its character: materials, decor, a terrace or a particularly inviting corner.
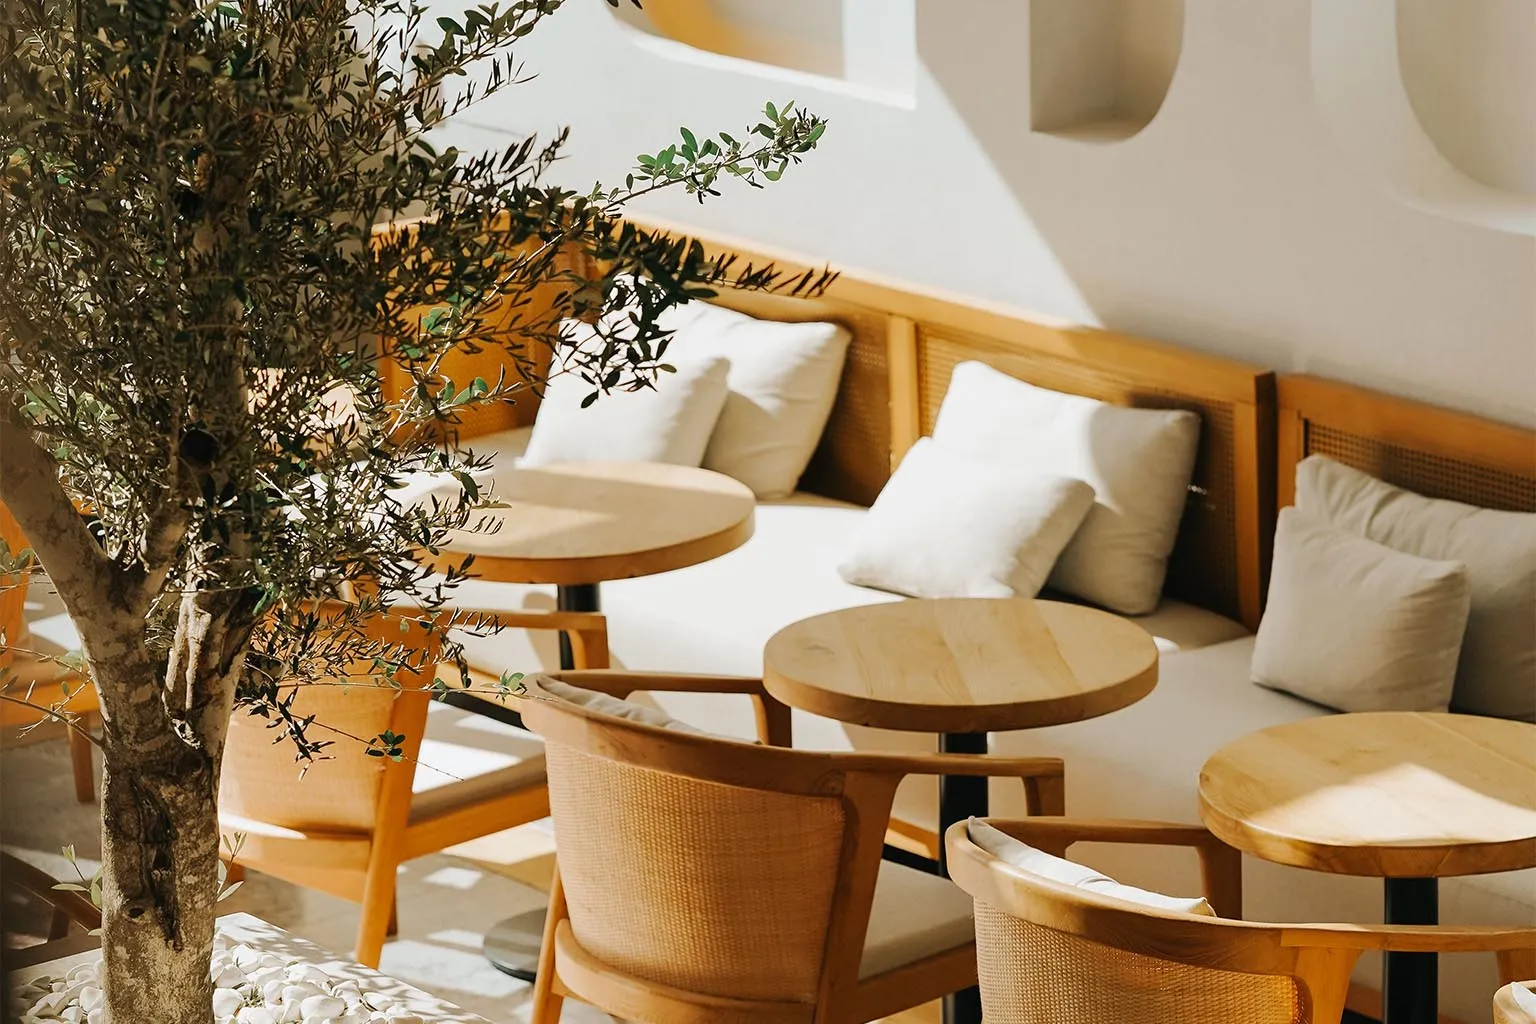
For a holiday rental, for example, pair a wide view of the living room with images of the bedroom, the bathroom and the outdoor areas guests can actually use. For a salon, show the reception area and the space where treatments take place.
Avoid posting only decorative details. They set a mood, but they do not show what the place looks like as a whole.
Stay true to reality, too. A very wide angle can make a small room look much bigger. Heavy retouching can change the light or colours so much that people expect something different from what they find.
The aim is to show your premises in a good light while making sure visitors recognise them when they arrive.
2. Make what you offer tangible
Your photos should show what you actually offer.
For a bakery, that might be a selection of loaves, the crumb of a signature bake and the products on the counter. For a maker, a finished piece, a close-up of the finish and the object in its setting. For a service business, the equipment you use, your workspace or a typical moment from the service.
Remember to vary the distance:
- A wide shot to show what is on offer.
- A closer shot to appreciate the details.
- A shot in context to show how something is used or the result.
These images work together. A tight close-up of a fabric shows its texture, but not the shape of the garment. A full view of a piece of furniture shows its proportions, but not the quality of its joinery.
Your selection should lead people naturally from a first impression to a closer look.
3. For an online store, help people choose without touching
Online, customers cannot pick up the product, turn it over or try it on. Your photos need to give them the visual information they need to judge their purchase.
This matters especially for jewellery, clothing, handmade objects, homeware and accessories, where the material or proportions can be hard to imagine.
A main image that is easy to read
The first image should clearly show the product for sale. A simple background and careful lighting make its shape and colour easy to see.
The background does not always have to be white on your own store. It can echo a colour from your brand identity, as long as it keeps enough contrast and does not distract from the product.
If you sell a pair of earrings, show the pair. If several items appear in the shot, make clear which ones are included in the purchase.
Useful angles and details
Each additional view should add new information: the back of an object, its fastening, its texture, its finish or its interior.
For a piece of jewellery, a close-up can show the metalwork, the setting of a stone or the clasp. For a bag, the inside and pockets are often as useful as the front view.
Avoid stacking up near-identical shots. Instead, ask yourself which question each new image answers.
Context to show proportions
A photo of jewellery being worn helps people judge the length of a necklace or the size of an earring. A cup held in a hand, a vase on a console table or a cushion on a sofa also give a sense of scale.
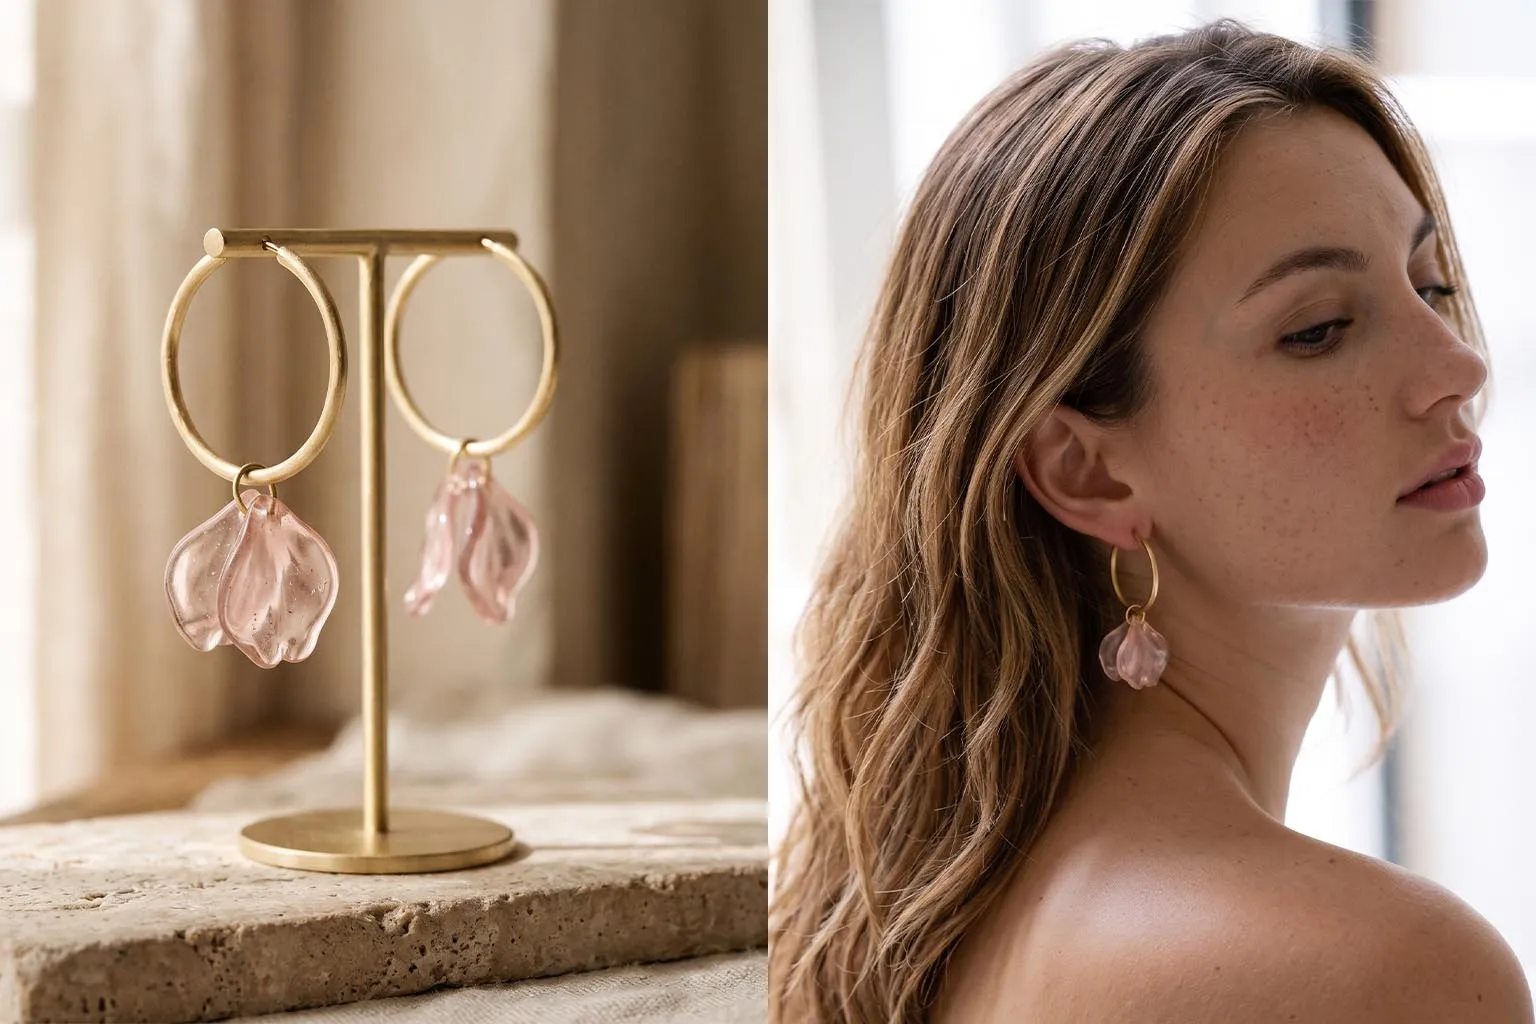
These images complement the dimensions given in the product description. They do not replace them, because framing and perspective can change how big something looks.
Packaging, when it is part of the experience
If you offer a jewellery box, a pouch or particularly careful presentation, show it. It is useful information for anyone thinking of buying the product as a gift.
Just make sure people can tell the difference between packaging that is included, a paid gift option and a prop used for the photo.
For a jewellery brand, a selection might include a view of the pair, a close-up of the finish, a photo of the earrings being worn and the box that comes with the order. Together, they convey the brand’s world while helping people choose.
Consistent images across your products
In a product grid, consistent framing, backgrounds and lighting make it easier to compare items. Visitors can focus on the differences between them.
You can save more creative compositions and mood shots for your home page, collections or social media. Product pages mainly need clarity and accuracy.
4. Introduce the people behind the business
For a small business, showing who is behind it can make the first contact feel more natural.
A simple portrait of the owner, a team photo or a picture taken at work helps people put a face to a name. There is no need for a very formal pose. A familiar setting, pleasant light and a relaxed attitude are often enough.
Choose an image that reflects the way you work. A craftsperson can be photographed in their workshop, a host at the door of their house, a designer at her worktable.
If you prefer to stay in the background, you can show your hands, your tools and the way you work instead. That way, people see your presence and your skills without your whole communication revolving around your face.
5. Photograph the gestures that explain your work
Some qualities are hard to express with a simple list of services.
Shaping a loaf, assembling a piece of jewellery, preparing a room or choosing the flowers for a bouquet shows, in concrete terms, the care that goes into your work.

These images give real meaning to words like “handmade”, “personalised” or “made with care”. They show what happens before the finished product exists or before the customer arrives.
Choose situations that are typical of your business. Prepare the space so the gestures are easy to read, without removing everything that gives the place its character.
A workshop can look lived-in and organised. It does not need to look like a room that has never been used.
6. Convey the experience without staging everything
A table laid on a terrace, a reading corner by a window or a piece of jewellery worn with a simple outfit helps people imagine a moment.
Mood shots have their place. They connect what you offer to a feeling, a use or an occasion: relaxing, giving a gift, hosting, taking care of yourself.
To keep them useful, keep a clear link with what you sell. A seaside image can suggest a holiday, but it should not imply that your accommodation has direct access to the beach if it does not.
In the same way, a styled composition around a product should not make it hard to tell which item is for sale.
Always pair mood shots with more descriptive images. Visitors should be able to enjoy the atmosphere and find the practical information they need.
Which photos for which channel?
You do not need to use every image everywhere. Which ones you choose depends on where they will appear.
| Channel | Photos to prioritise |
|---|---|
| Home page | One strong image that represents your business and still reads well with a heading nearby. |
| Service or accommodation page | Views that explain the offer, the spaces, the facilities and useful details. |
| Product page | The product clearly visible, several angles, details and a shot in context. |
| About page | A portrait, the team, the workshop and everyday gestures. |
| Google Business Profile | The outside, the entrance, the interior, products or services and recent images. |
| Social media | Vertical formats, details, new arrivals and behind the scenes. |
When shooting, plan several framings for your most important images. A landscape photo may work at the top of a website but be hard to crop for a phone screen.
Leave some space around the subject, too. It gives you more flexibility to adapt the image without cutting off a face, a product or an essential detail.
Can you take good photos with a phone?
Yes, for many purposes, as long as you take care with the light, the framing and the preparation.
Start by cleaning the lens. Place your subject near a window and watch the shadows. Avoid mixing daylight with several artificial lights of different colours.
For products, a simple background and a steady position already make your images more consistent. Move closer rather than relying heavily on digital zoom, and watch out for reflections on metal, glass and shiny surfaces.
Take several versions, then be selective. A small, sharp and consistent series is easier to use than a large number of images of very uneven quality.
A phone works well for new arrivals, behind-the-scenes shots and everyday posts. Very fine jewellery, reflective objects and some interiors need more skill to capture the detail and the light.
When should you call in a photographer?
A professional shoot can be useful when you need a consistent series for a launch, a website redesign, a new collection or a change of direction.
It lets you plan the images you need together, work on the lighting and prepare the right formats for each channel.
Before booking a shoot, decide what the photos need to show and where they will be used. For an online store, specify the number of products, the variants and the angles you need. For accommodation, list the spaces and facilities to show.
Discuss the deliverables as well: the final selection, retouching, web versions, high-resolution files and intended uses.
You can then add your own images to this foundation as the seasons change and new products arrive.
What about images generated or edited with AI?
Image generation tools can help you explore a mood, prepare a moodboard or present a brand concept. They can also be used for some styled scenes, as long as you check the result carefully.
For anything you actually sell, accuracy remains essential. An image should not change the shape of a piece of jewellery, invent a finish, make a room look bigger or add facilities that do not exist.
On a product page, use photographs of the actual item for sale. If you use a generated visualisation or styled scene, label it clearly and include real photos that let people judge the product.
The same applies to ordinary retouching: correcting the exposure or removing a speck of dust is not the same as changing what the customer will receive.
A little preparation for more useful images
Before photographing your business, prepare a simple list:
- The questions your images need to answer.
- The places, products, people and gestures to show.
- The channels where the photos will be published.
- The landscape and portrait framings you need.
- The details to prepare: tidying up, packaging, labels, outfits or accessories.
Once you have chosen your images, check that they are consistent, that the colours are right and that they are up to date. Replace any that show old decor, a discontinued offer or a product that has since changed.
On your website, also adapt their file size and dimensions to how they are displayed. Add descriptive alt text to images that carry information, without turning it into a list of keywords.
Photos that do justice to your business
Your images can show what your customers do not know yet: the character of a place, the care in a finish, the person who will welcome them or the details of a product.
At BeFound Studio, I help you choose and create visuals that work with your brand identity and your website. The aim is to present your business in a way that is polished, consistent and true to what you offer.
Preparing a launch or ready to refresh your business photos? Let’s talk about your project.